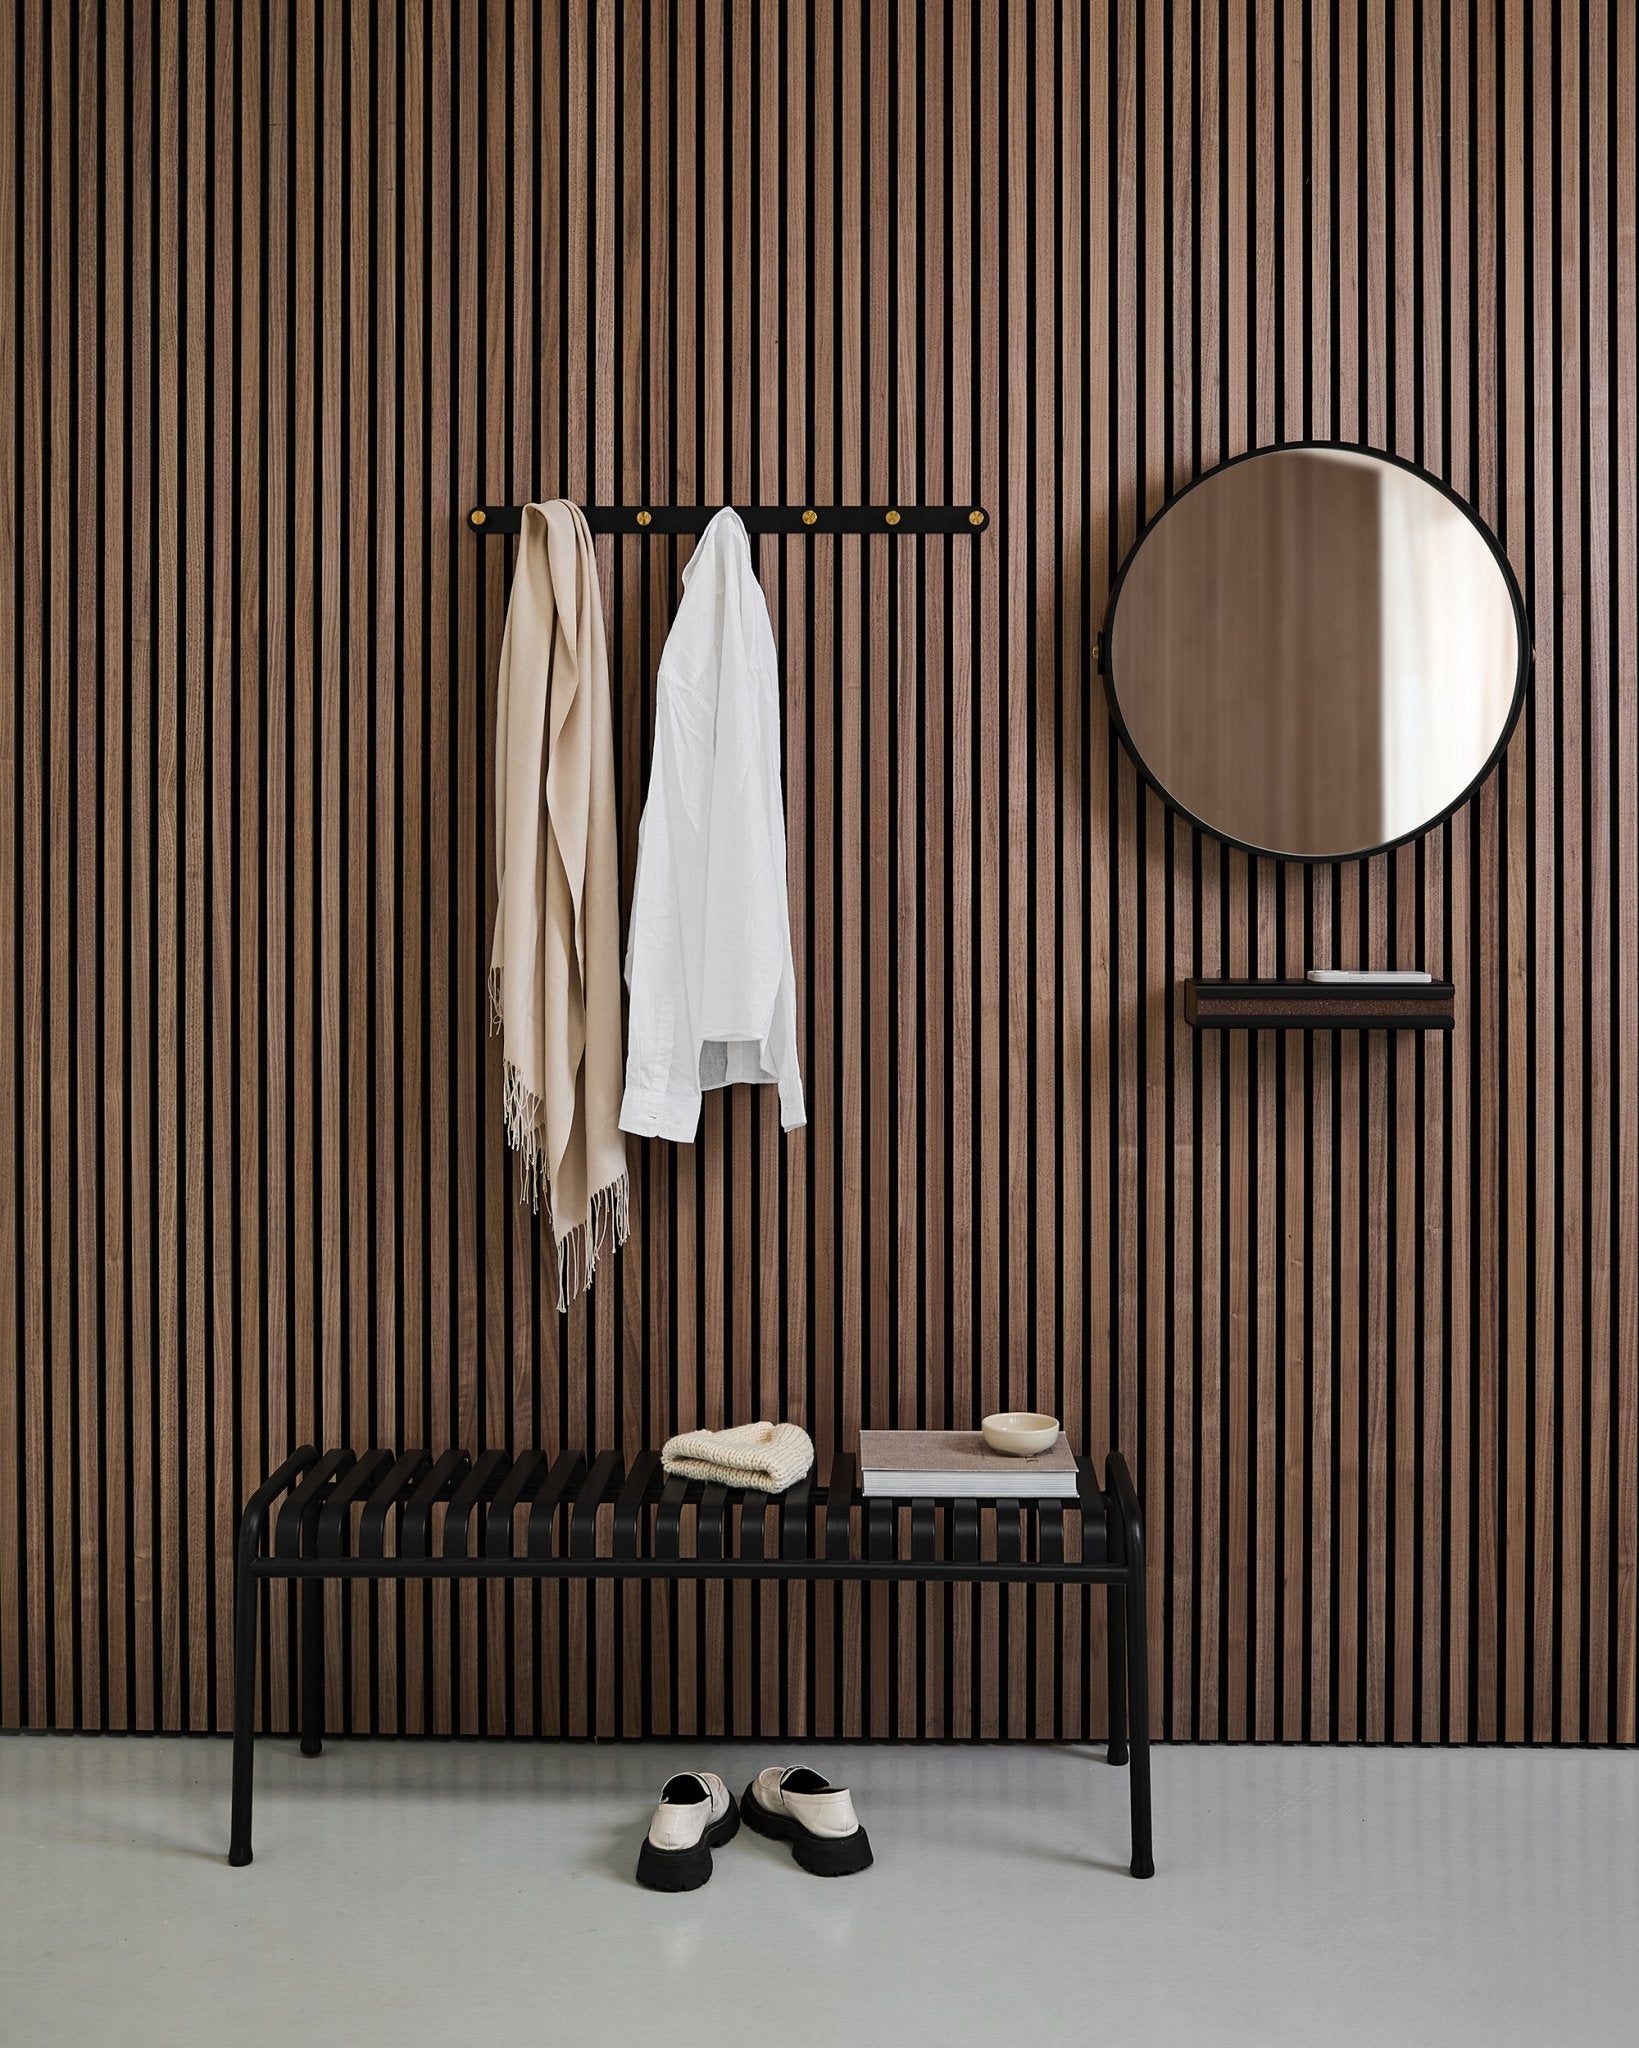
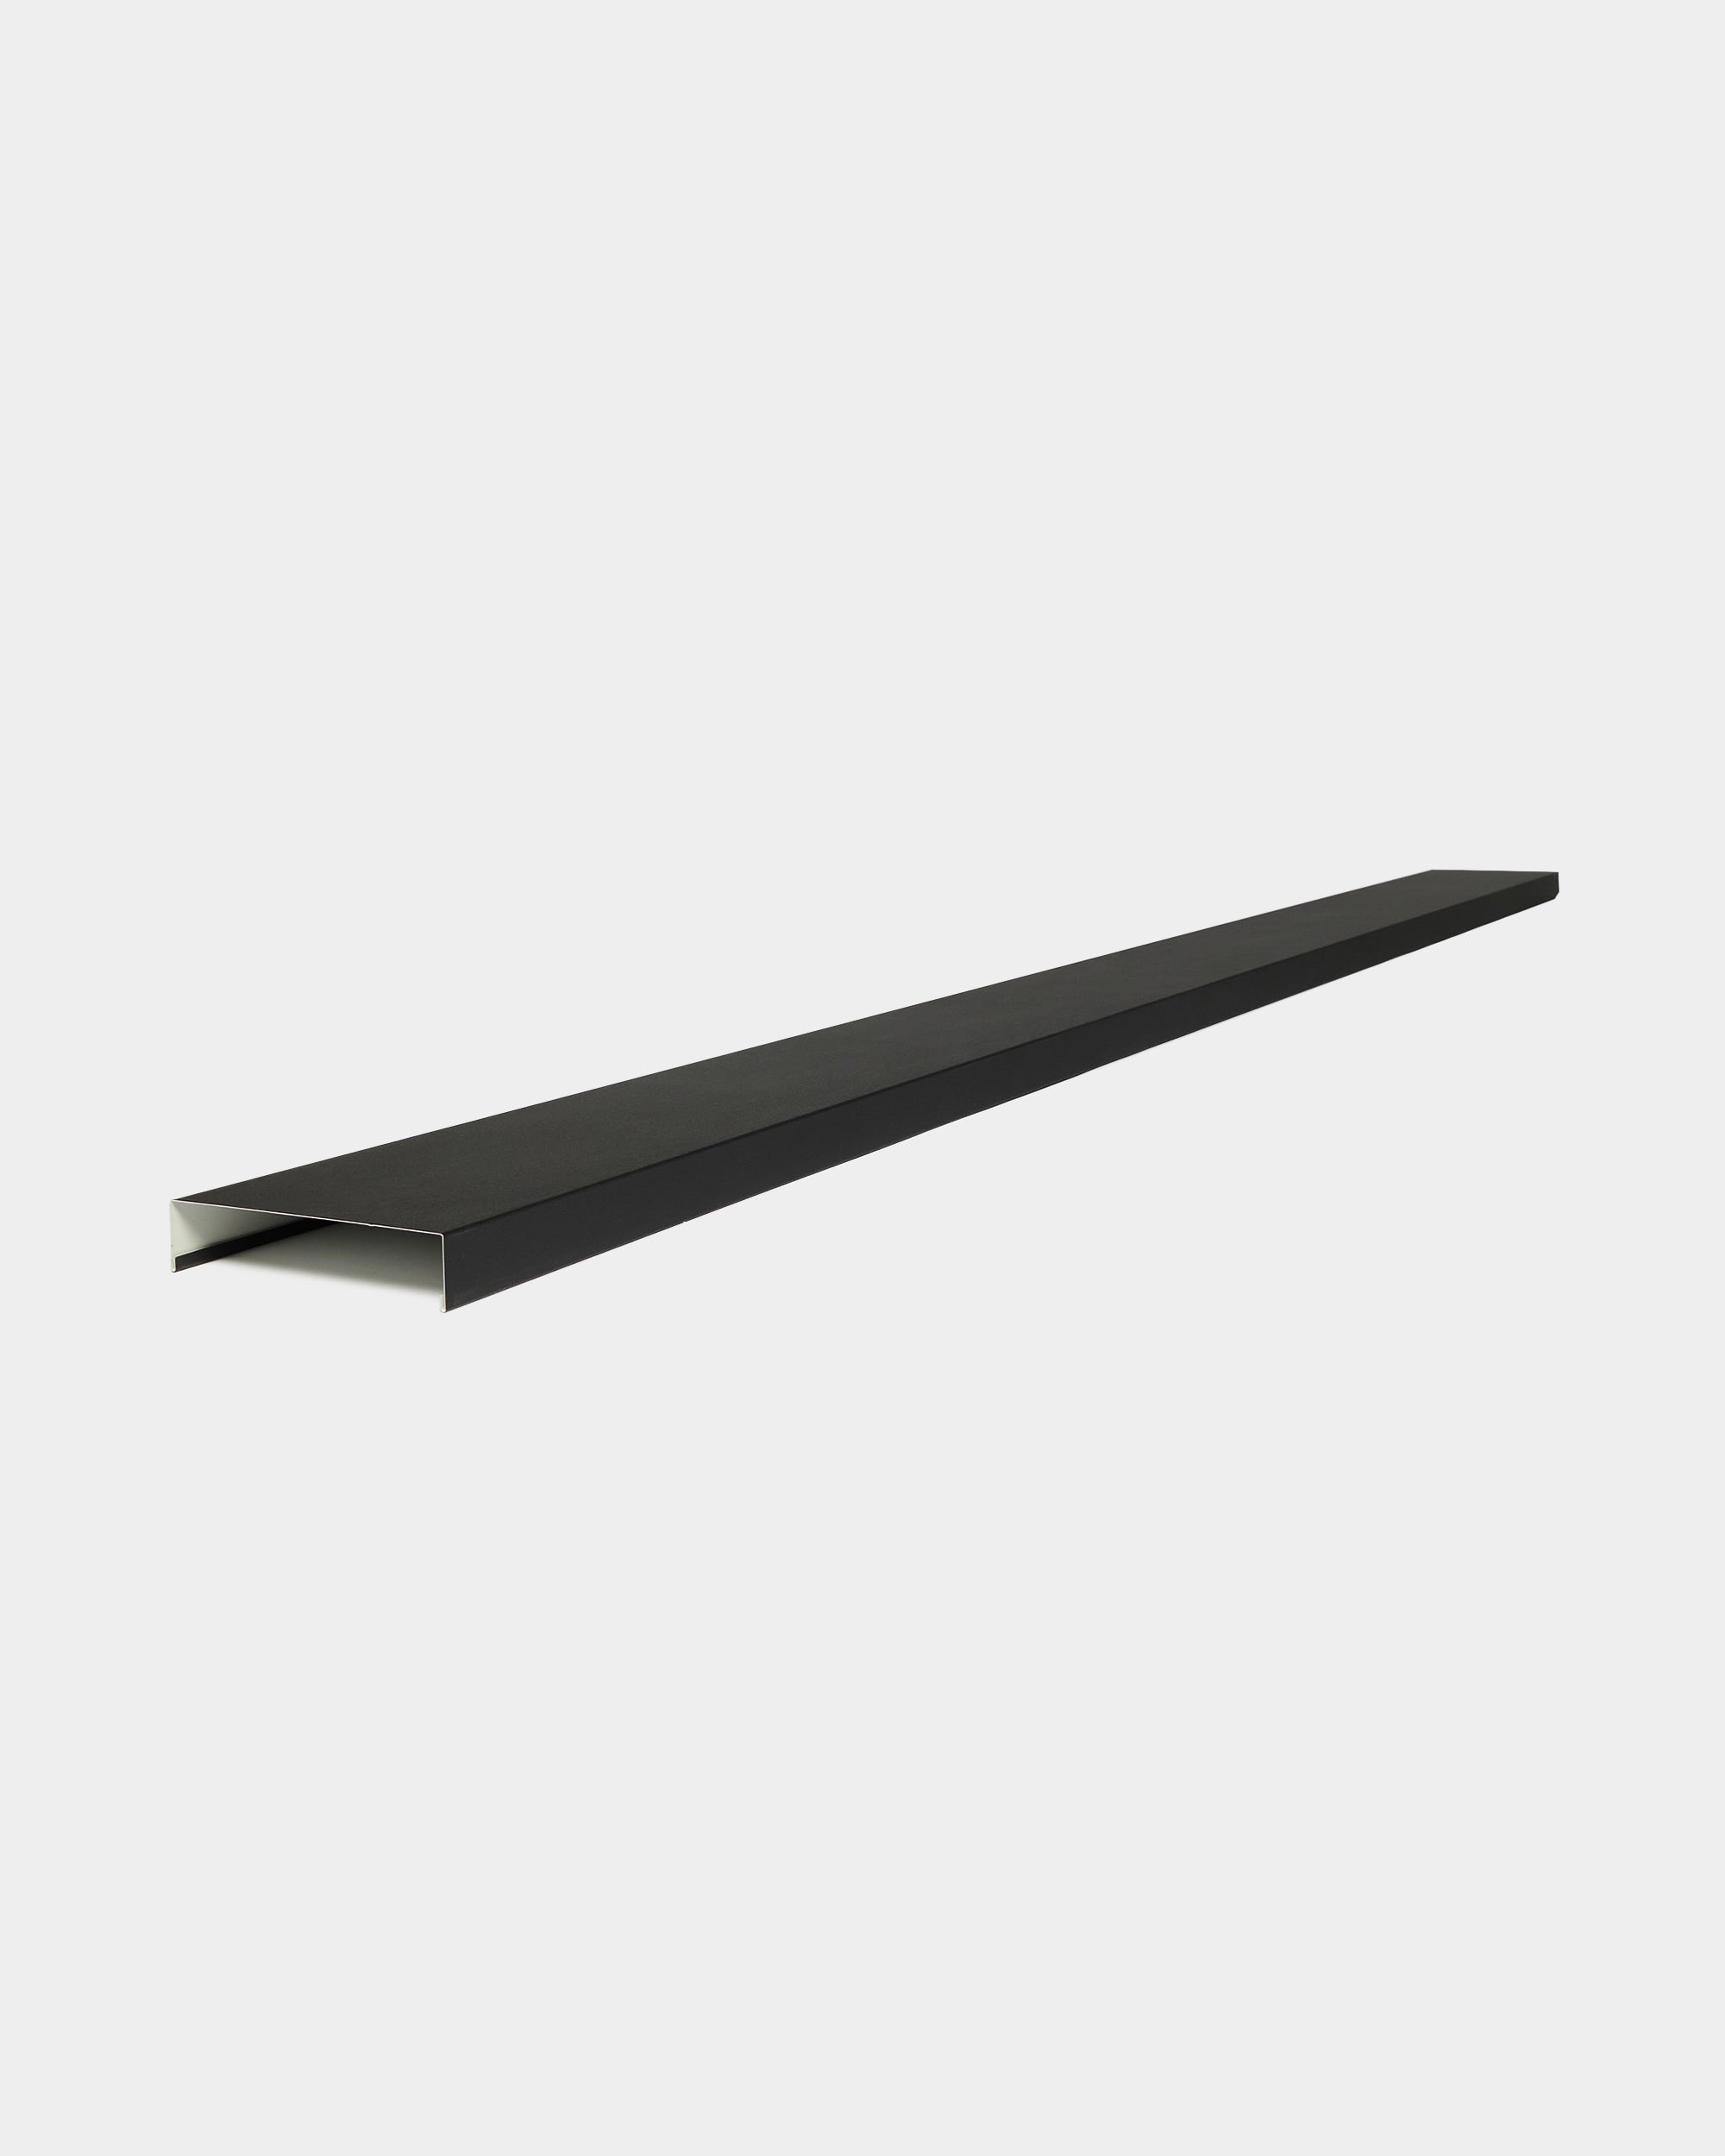
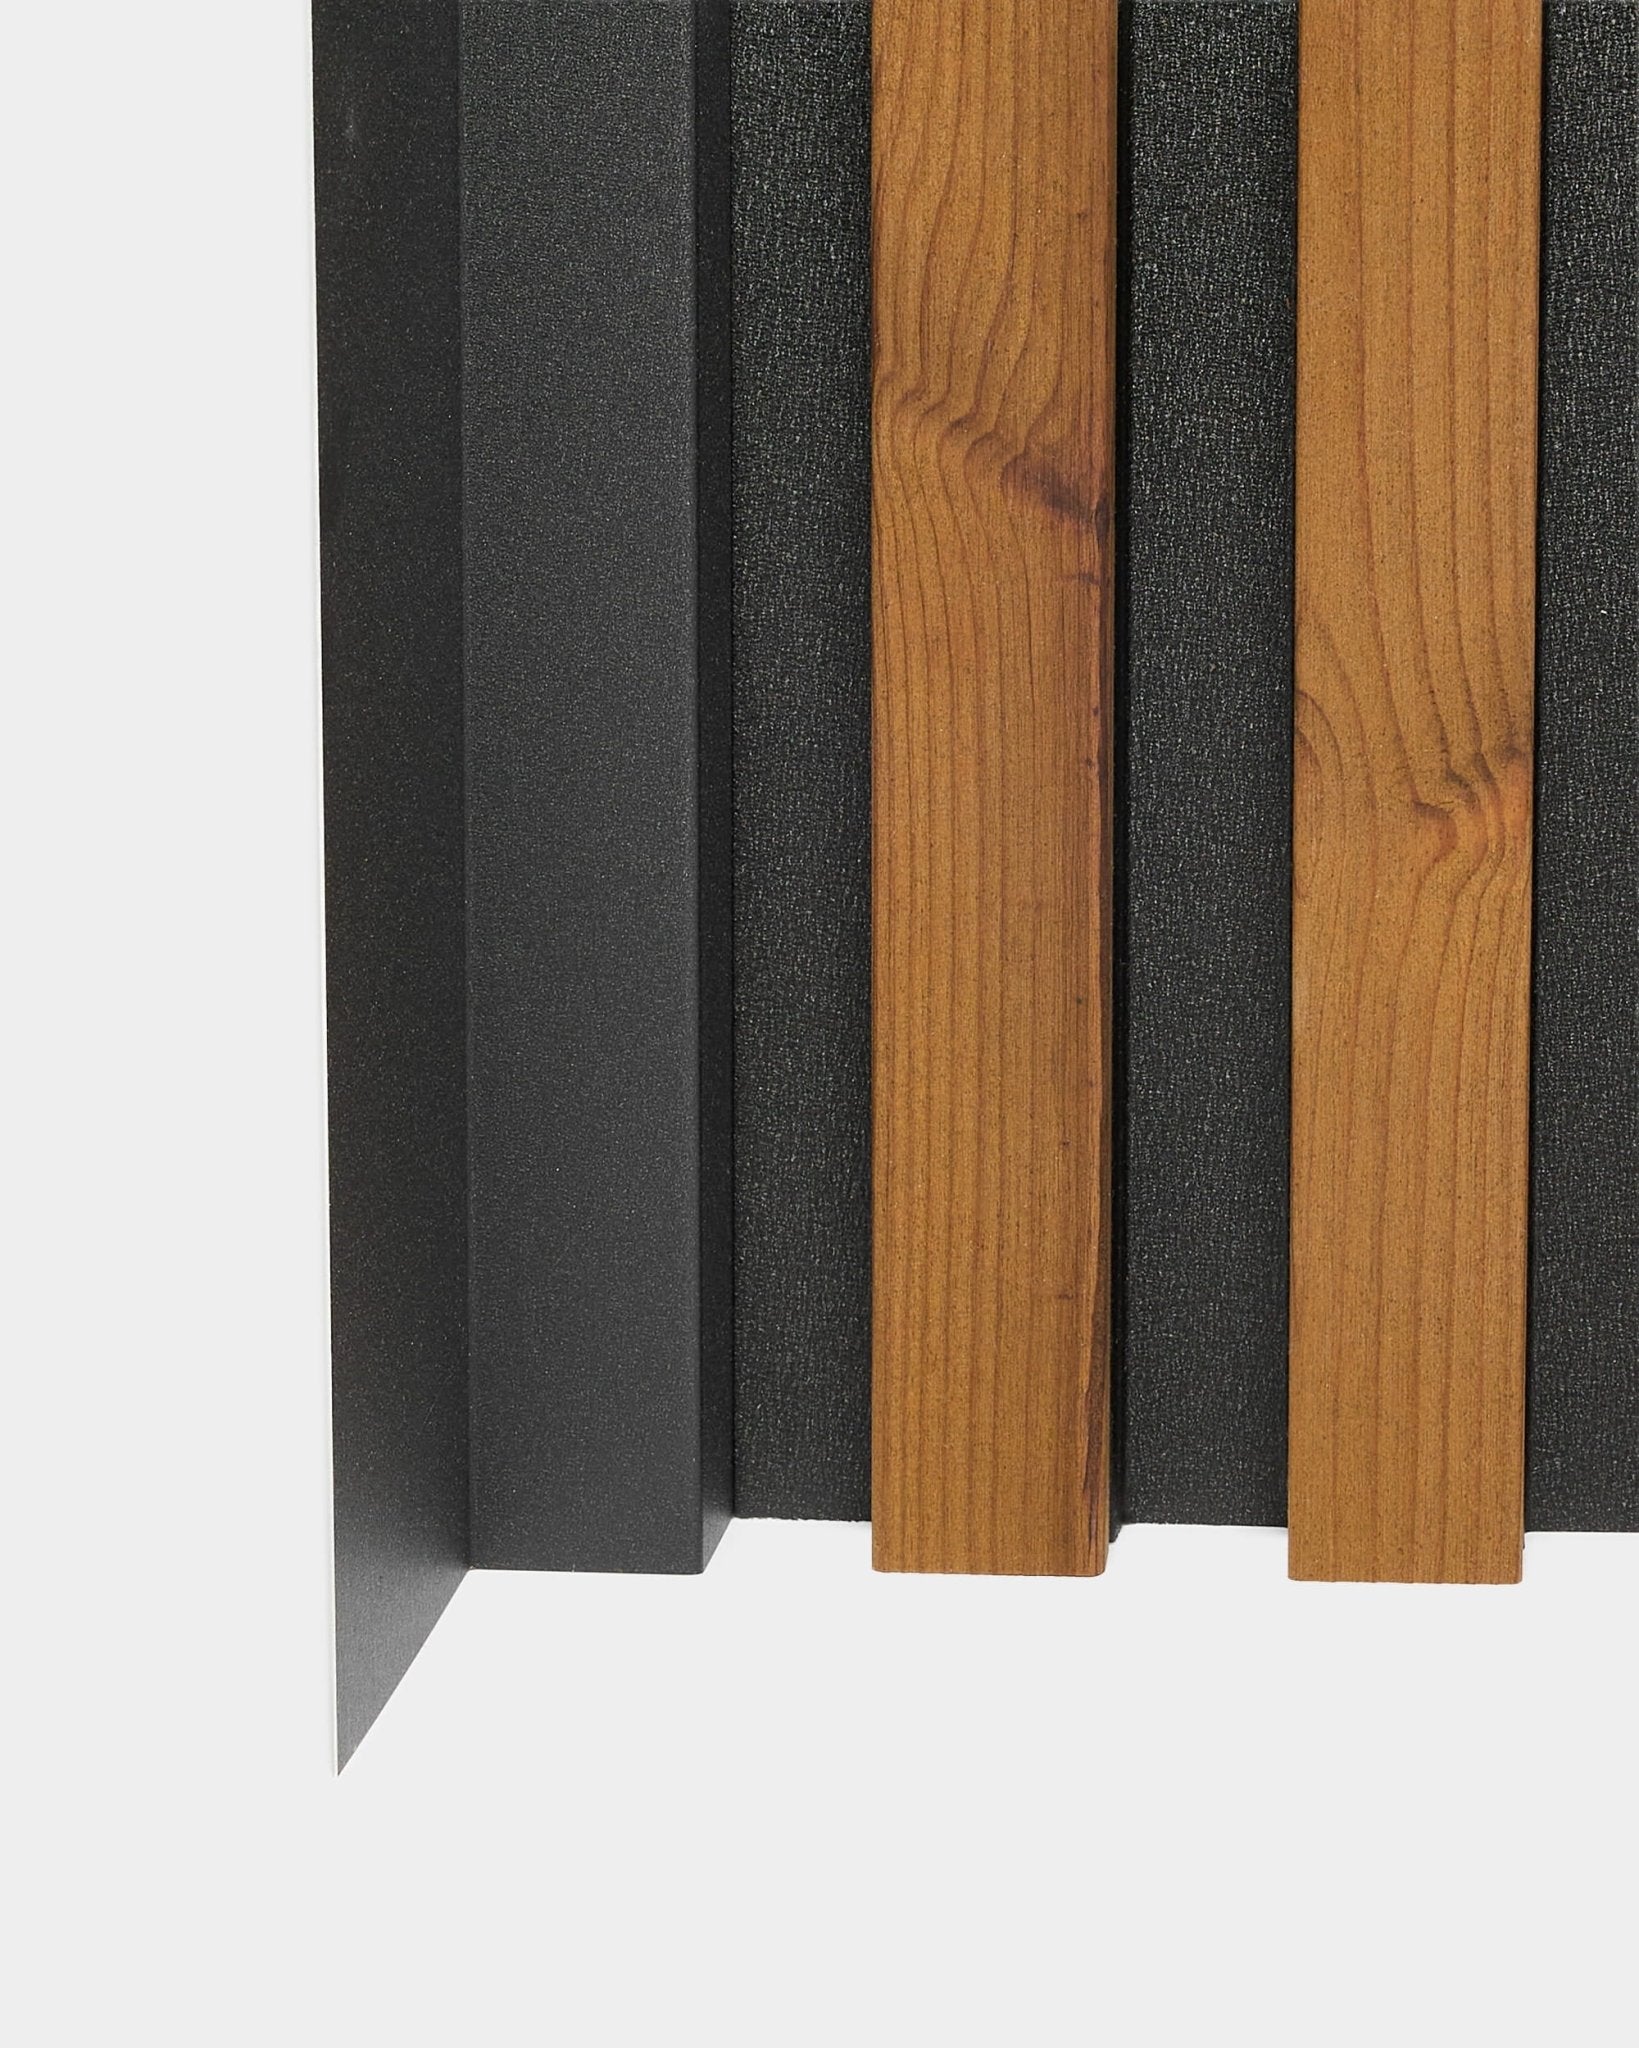
Frame your project with clean, sharp borders
When you spend your weekend upgrading a room, the final details make an incredible difference in how the space feels. Raw edges around doorways, large living room windows, or floor baseboards can easily make a beautiful project look slightly unfinished. Finishing trims are specifically designed to cover those exposed sides elegantly. Instead of letting your eyes catch the raw cut of the acoustic felt or the side profile of the wood, the trim provides a clean, deliberate stopping point. Framing your acoustic panel installation this way ensures your new wall achieves a tidy, completely resolved appearance without any raw materials showing. It shows that every inch of your space was carefully considered.
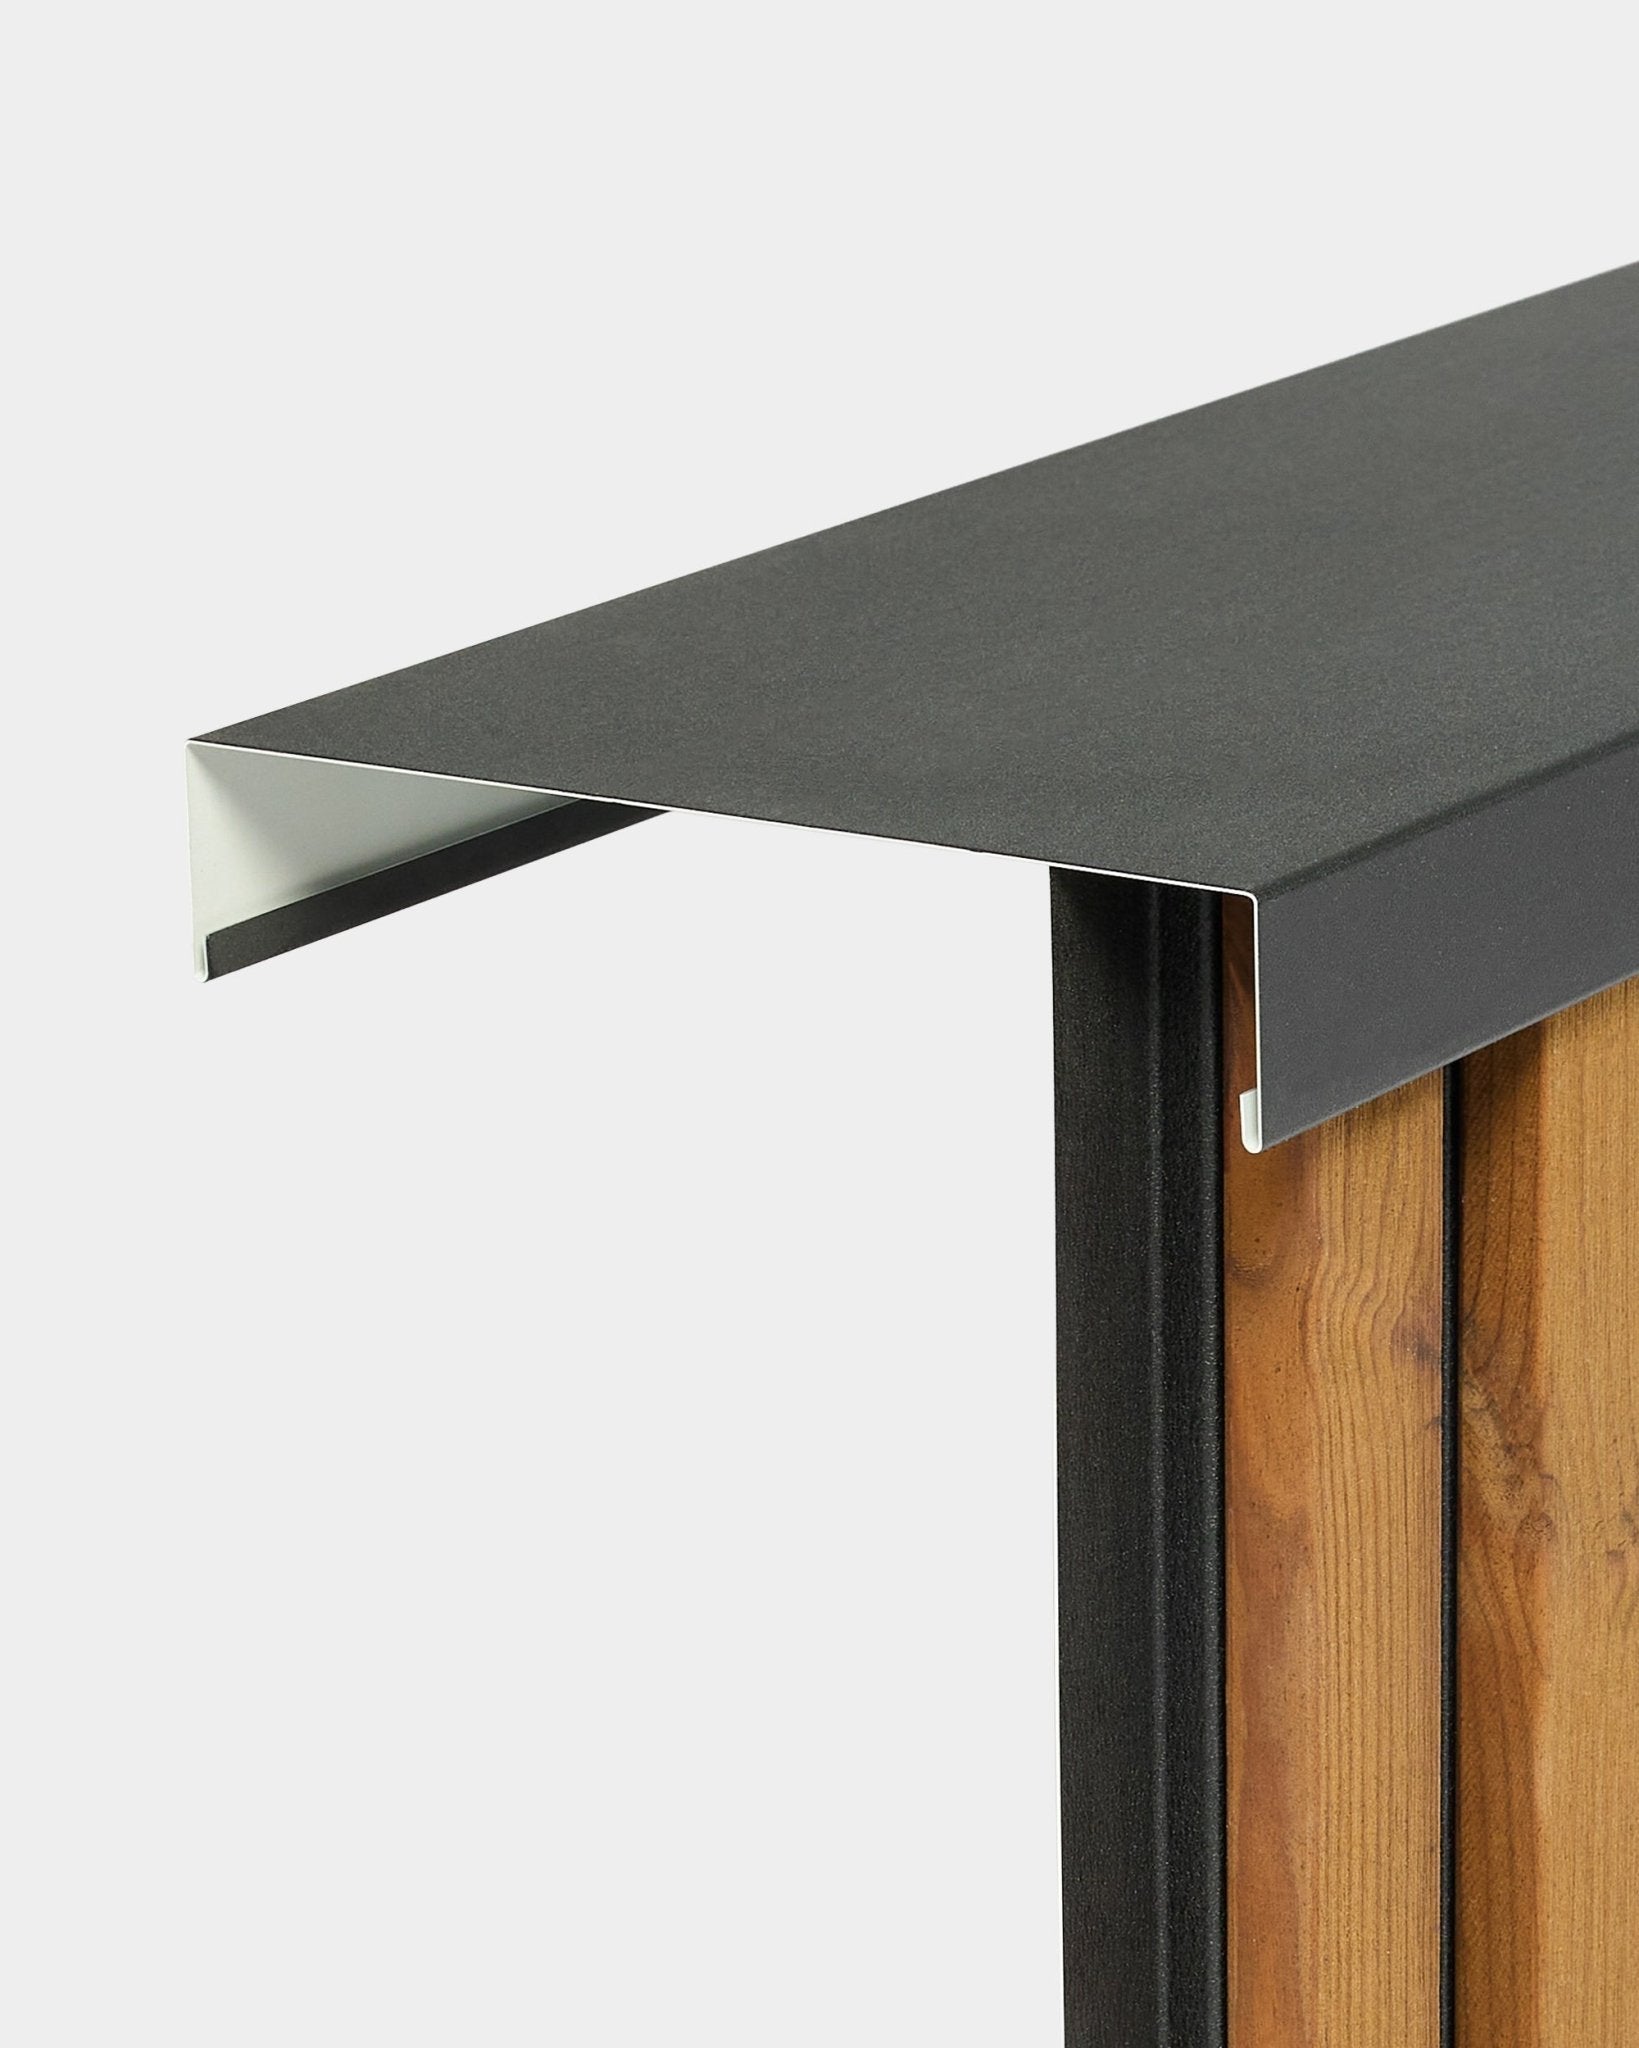
Elevate your room to a professional standard
Leaving the sides of your acoustic wall open can disrupt the illusion of a solid architectural feature. By applying a dedicated trim, you instantly elevate your DIY project to a highly professional standard. When you walk into the room, the wall looks like it was built by a master carpenter directly into the original blueprints of your house. The border neatly closes the gap between your existing plaster wall and the raised wooden slats. This simple addition completely removes any visual clutter at the borders, ensuring that your home office or dining area looks impeccably sharp, intentional, and fully completed from absolutely every viewing angle.
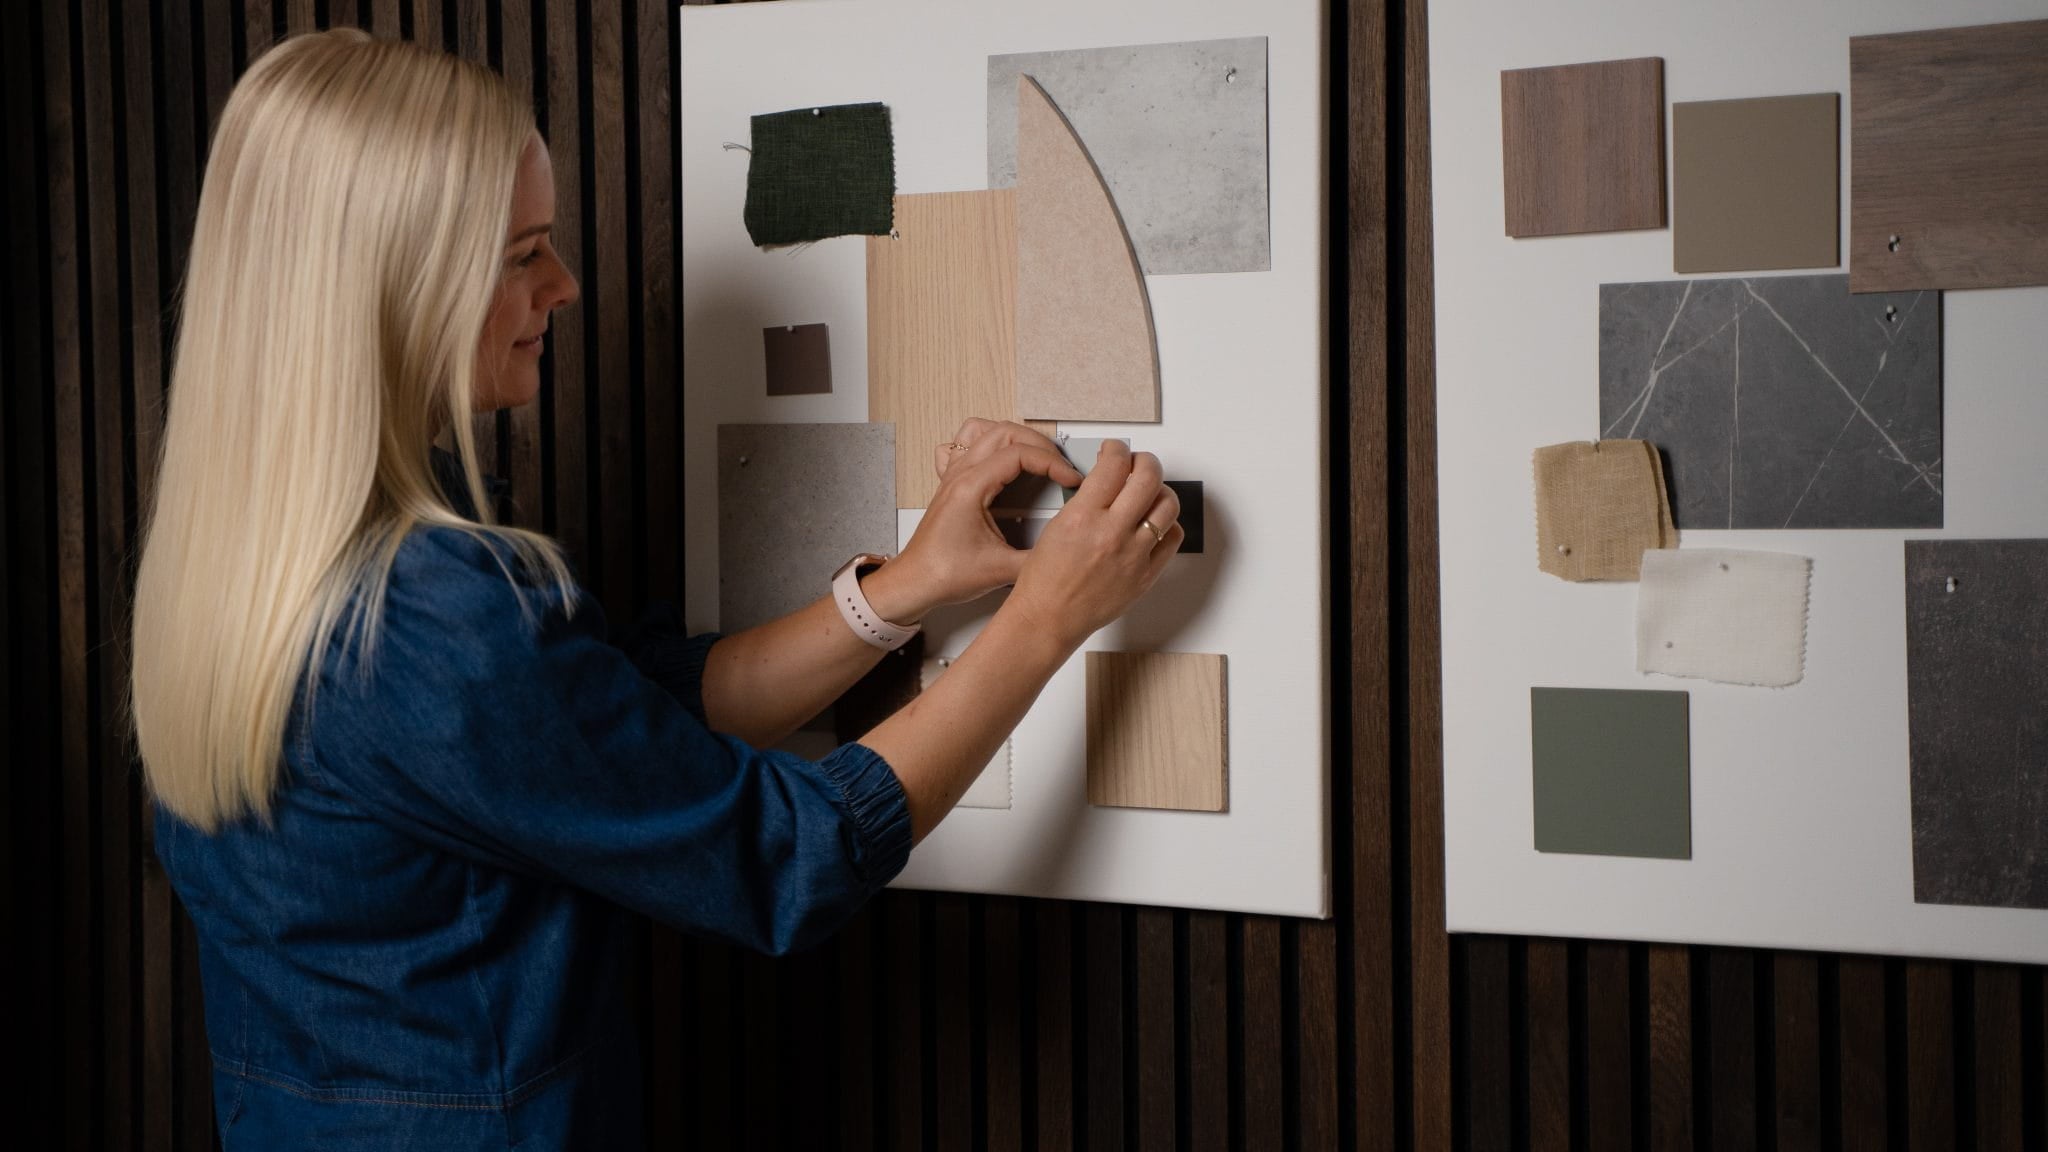
Match your specific panel choice perfectly
One of the most frustrating parts of a home renovation is trying to match the final details to your main materials. There is no need to spend your Saturday hunting through the local hardware store for matching paint, or guessing which wood stain might closely resemble your panels. Made from the exact same high-quality materials as the main collections, these finishing trims blend right in automatically. Whether your wall features the natural warmth of classic oak handpicked veneer or a deeply modern solid color, you get a trim that seamlessly matches your original slat wall panel. You eliminate the guesswork and guarantee a flawless color match.
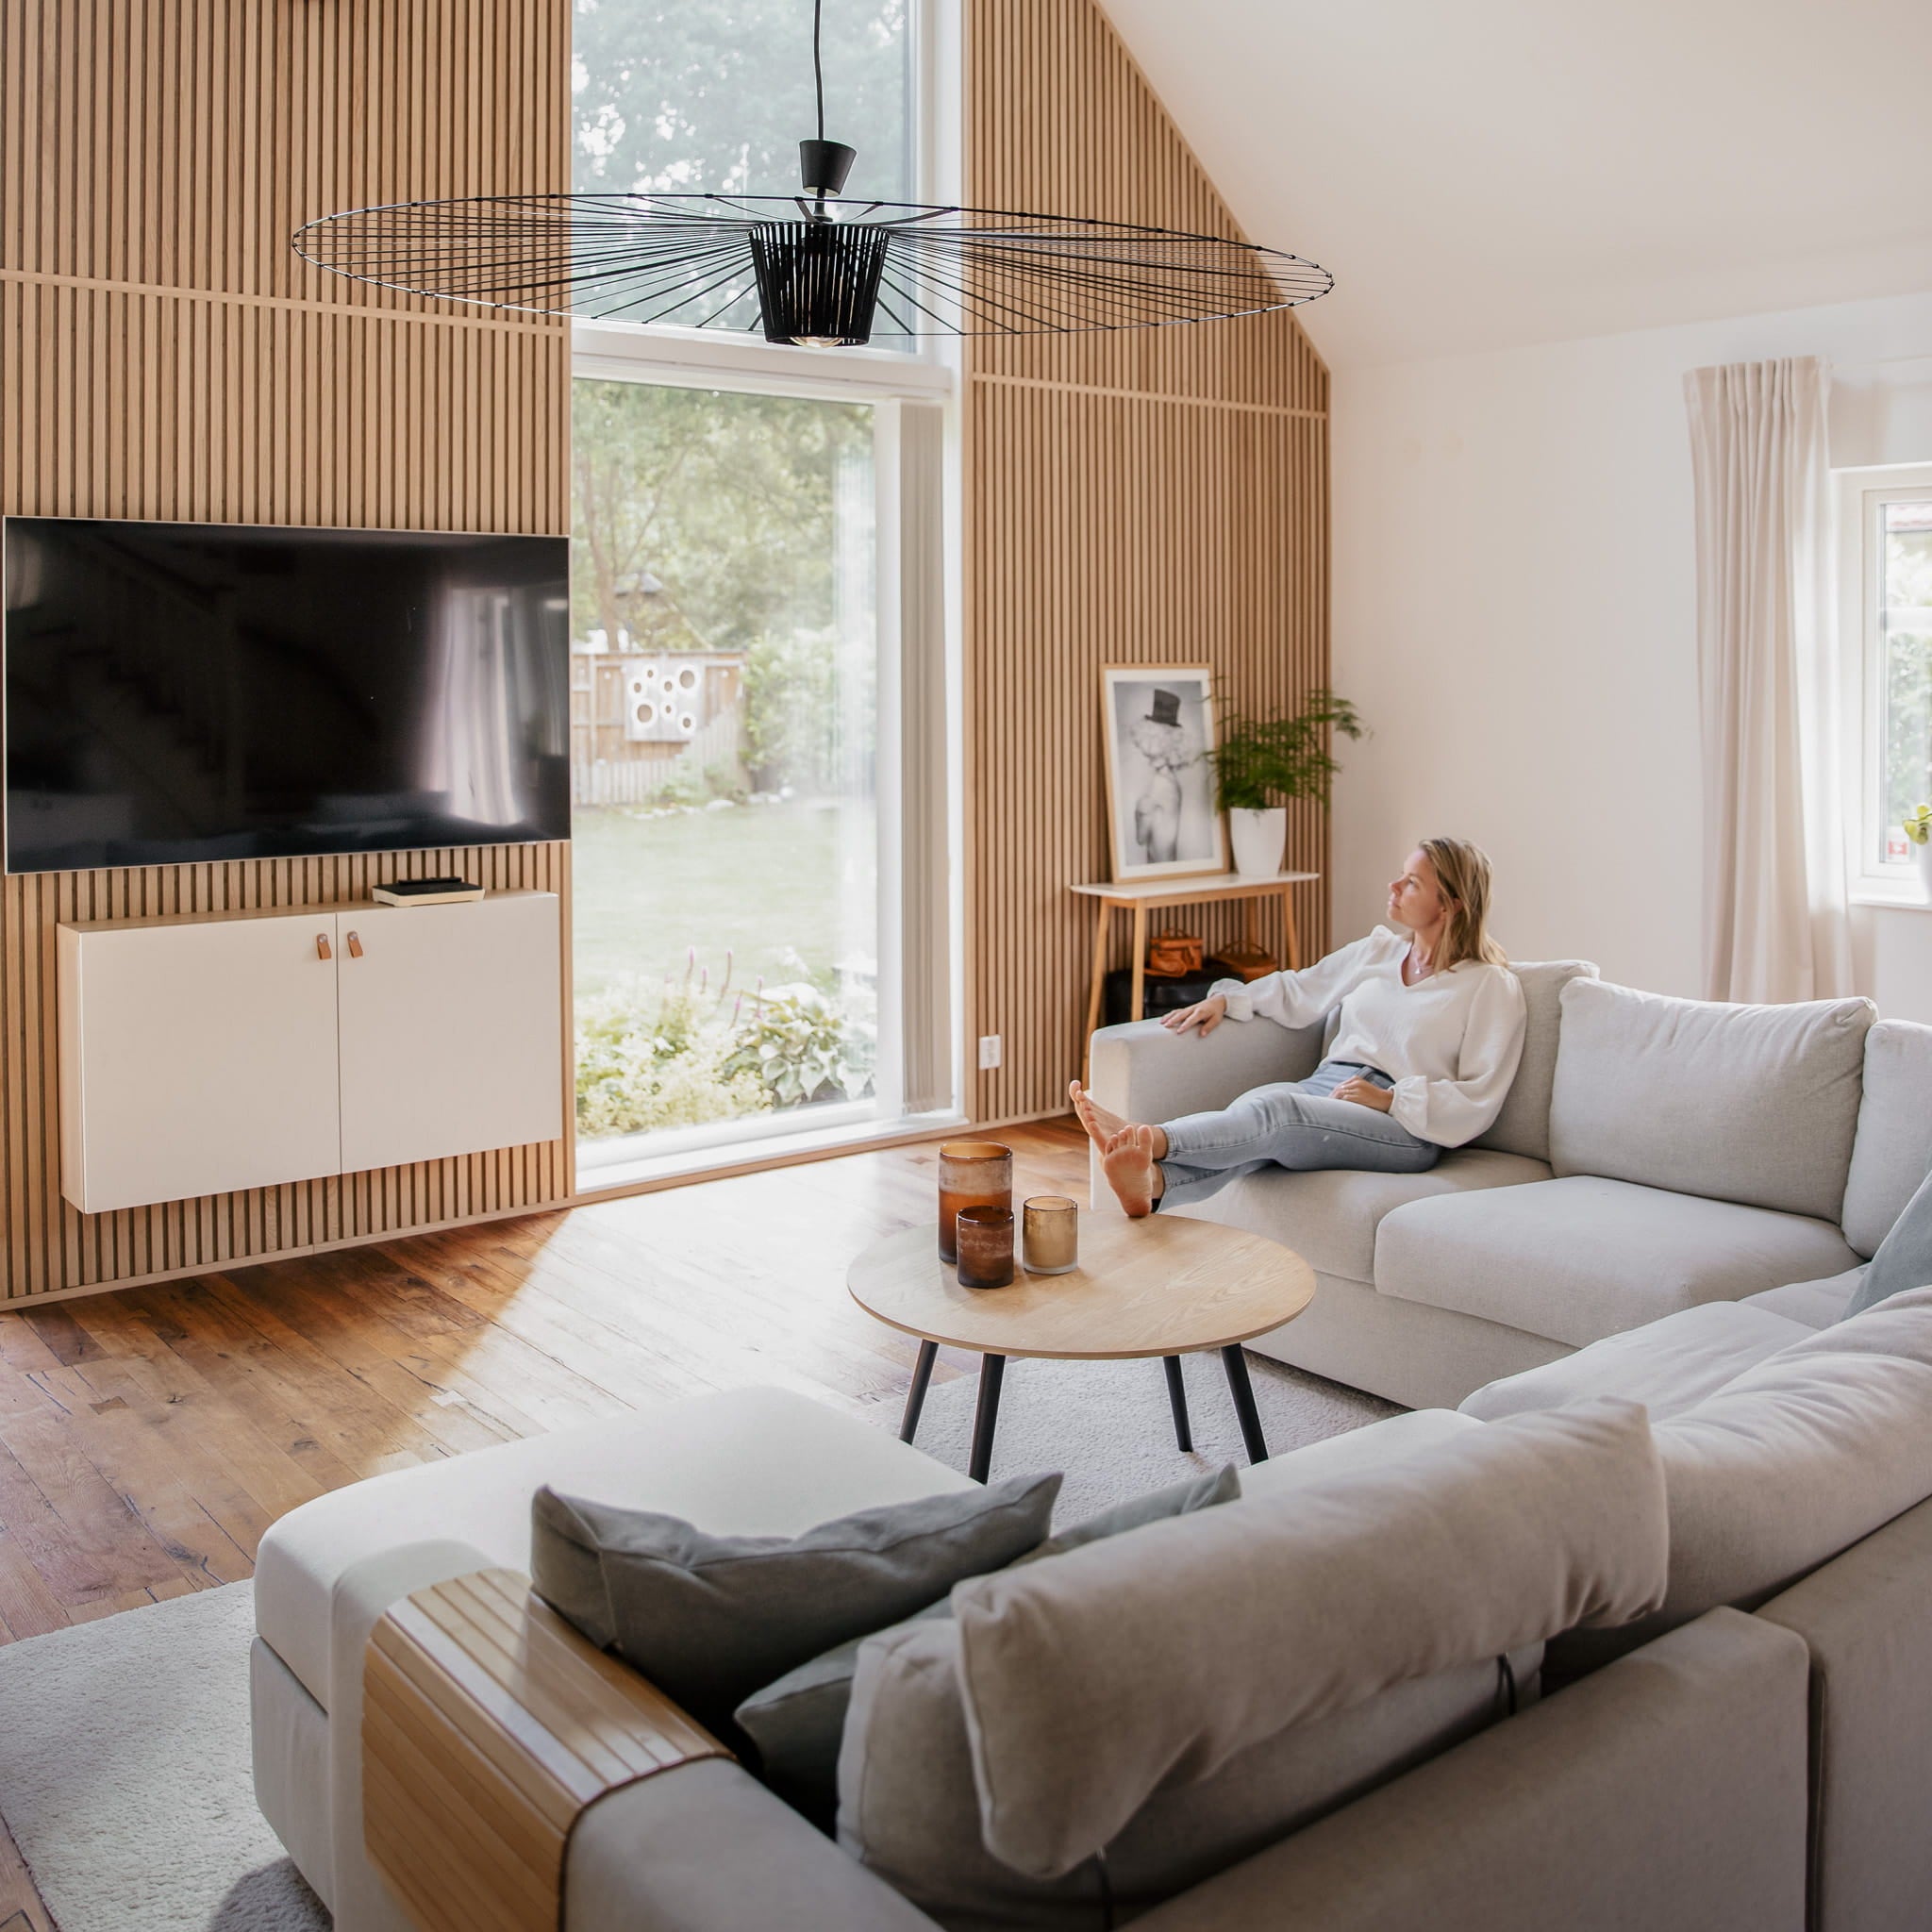
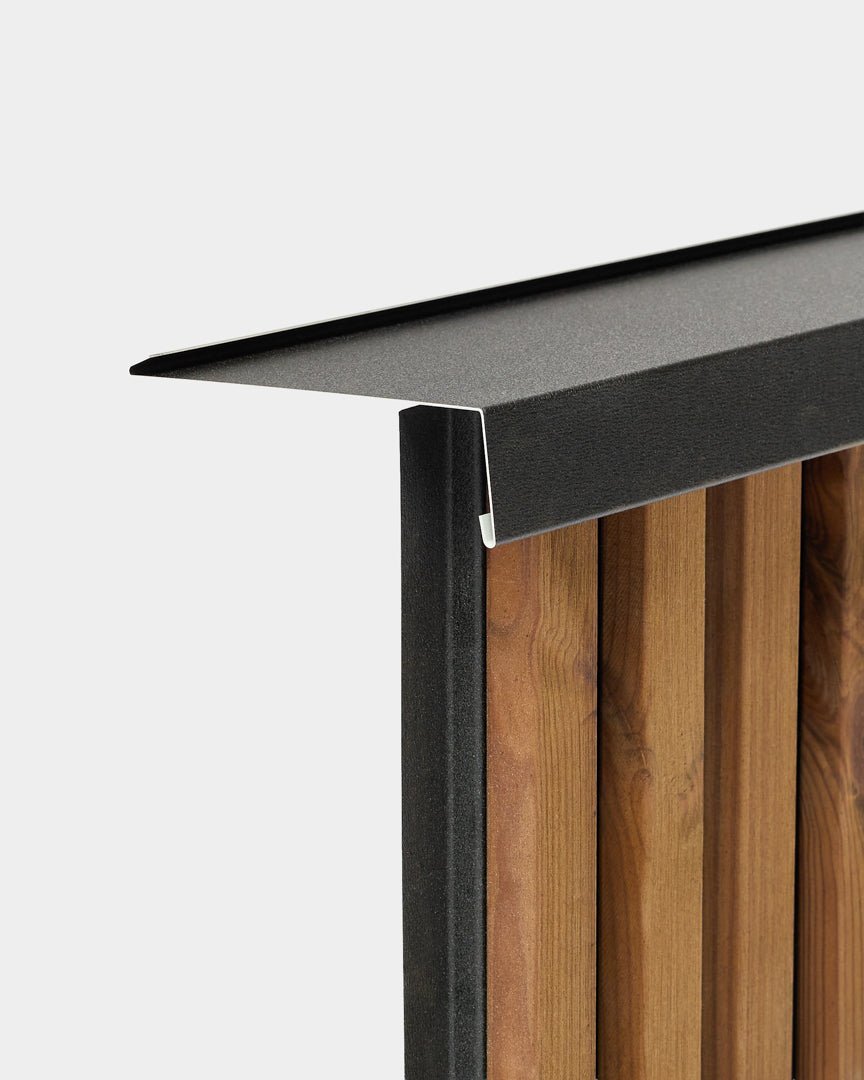
Maintain a calm and continuous visual flow
Because the trim uses the exact same surface finish as your wall, the transition feels incredibly natural to the eye. You keep the organic grain patterns of the wood flowing beautifully right to the very edge of the installation. This visual consistency ensures that your new wooden feature grounds the room without creating any harsh friction at the borders. The natural light from your windows hits the trim and the panels in the exact same way, creating uniform shadows. You maintain a highly organized, calm aesthetic that ties your entire room together, allowing your wall to act as a cohesive backdrop rather than a distracting element.
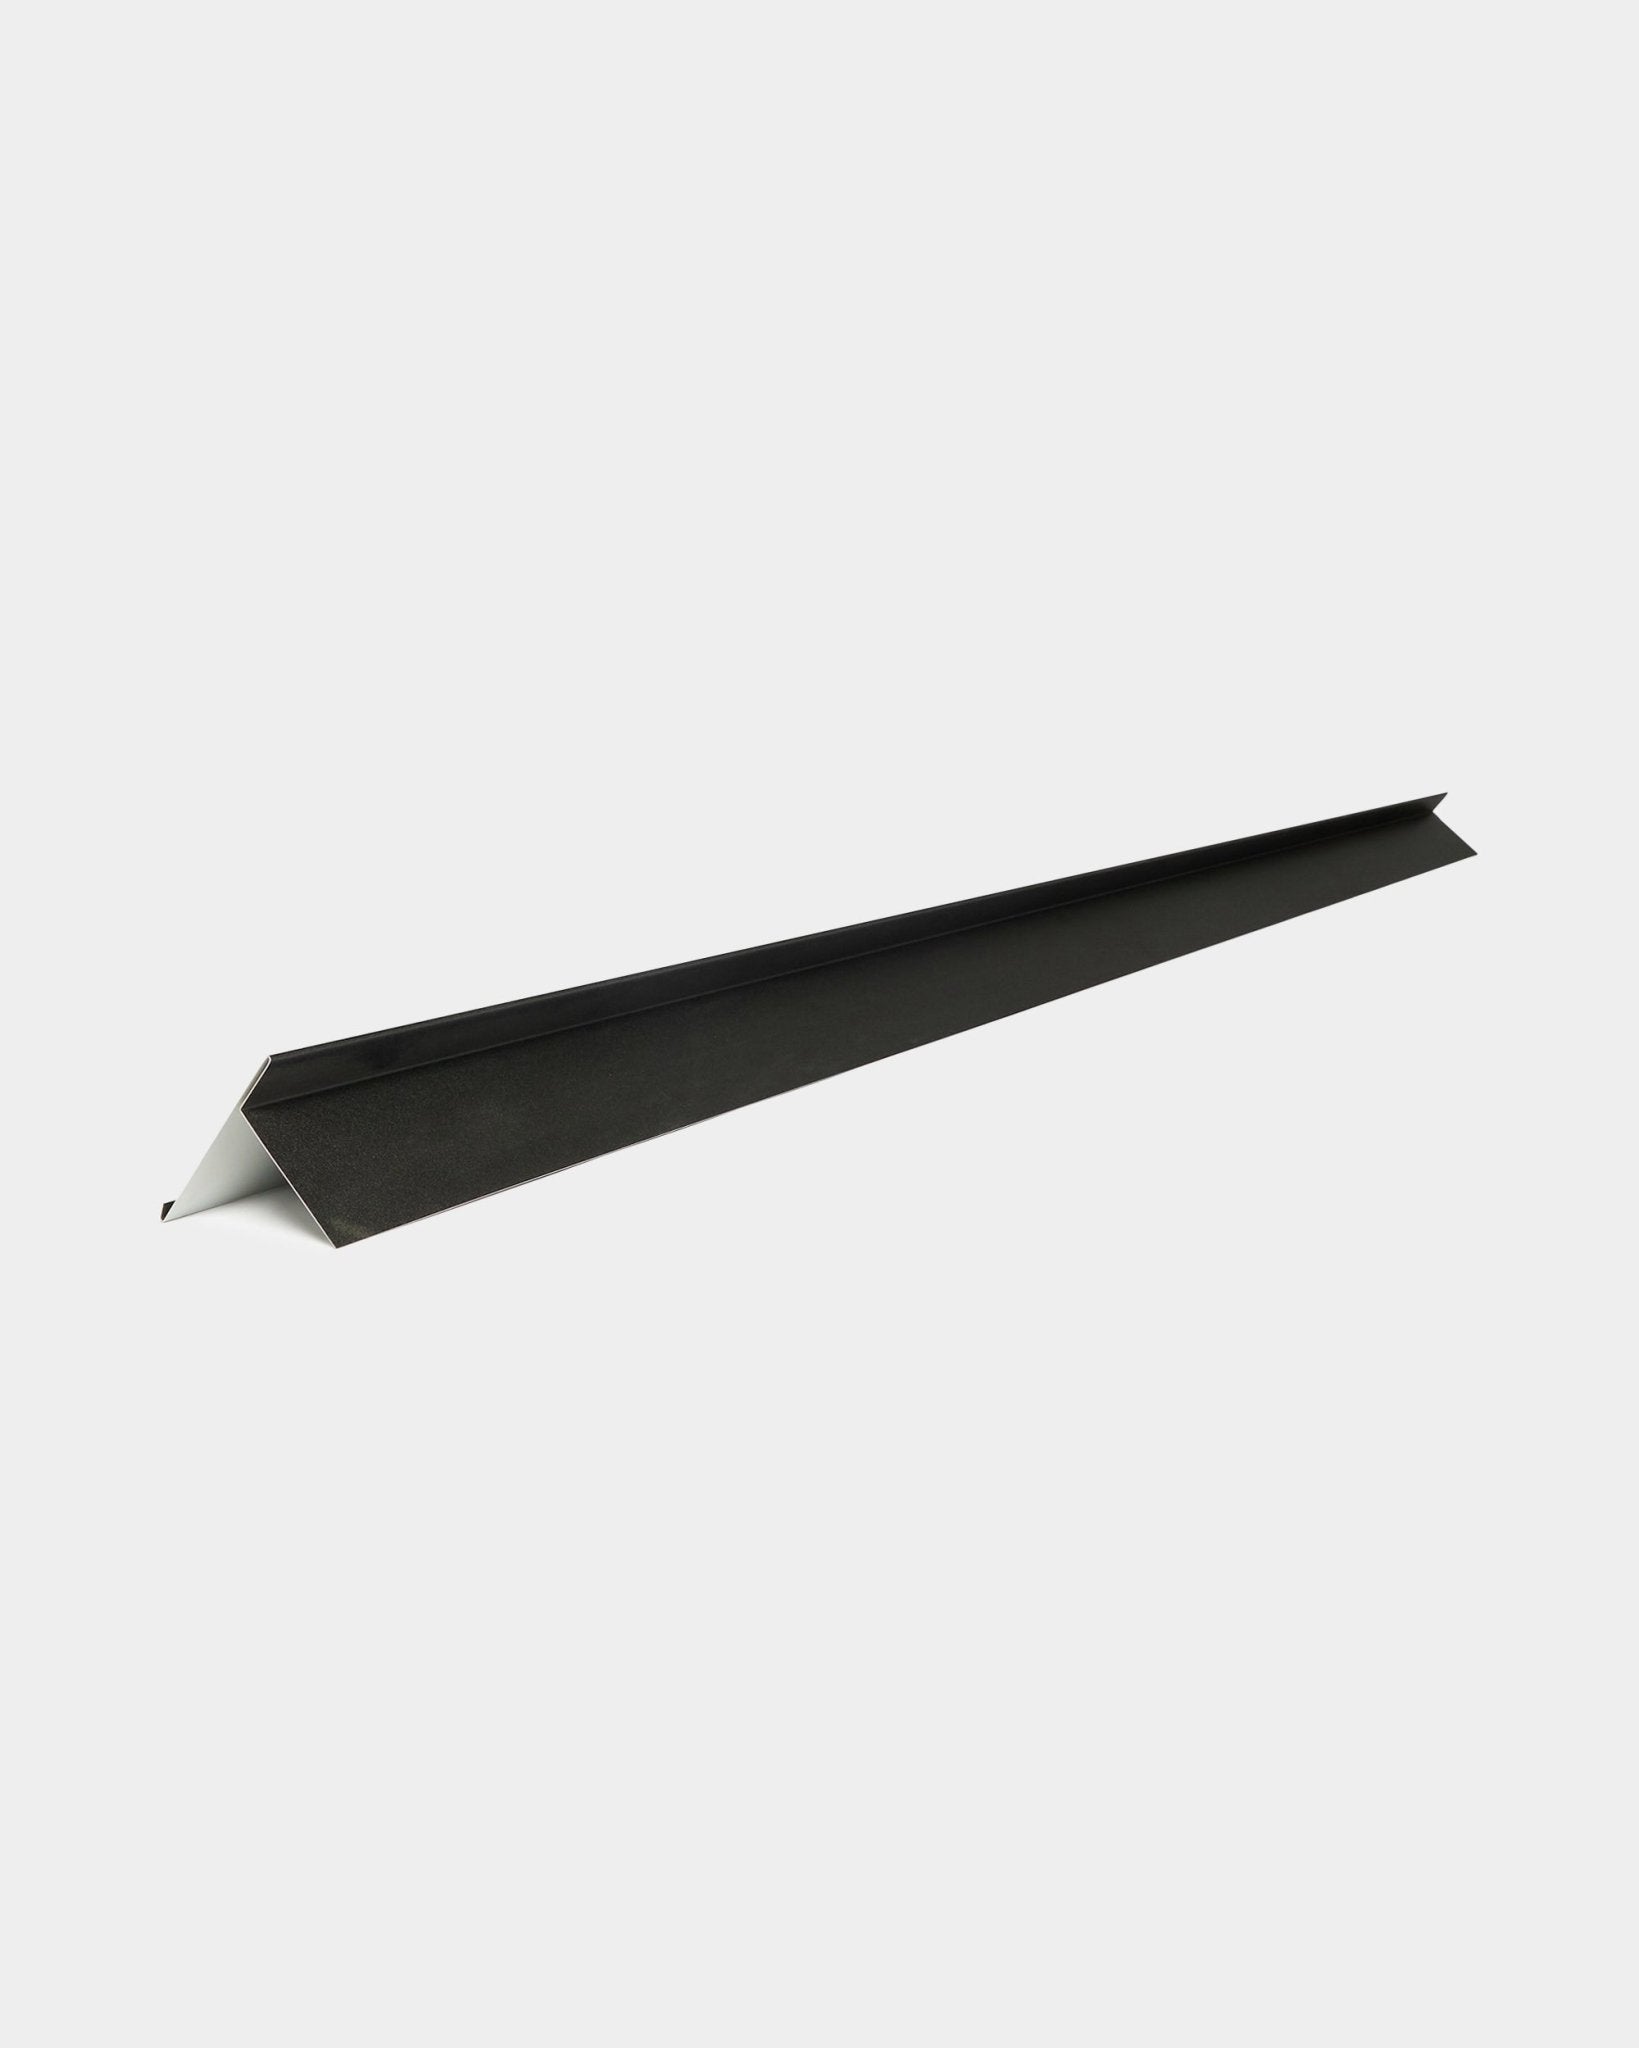
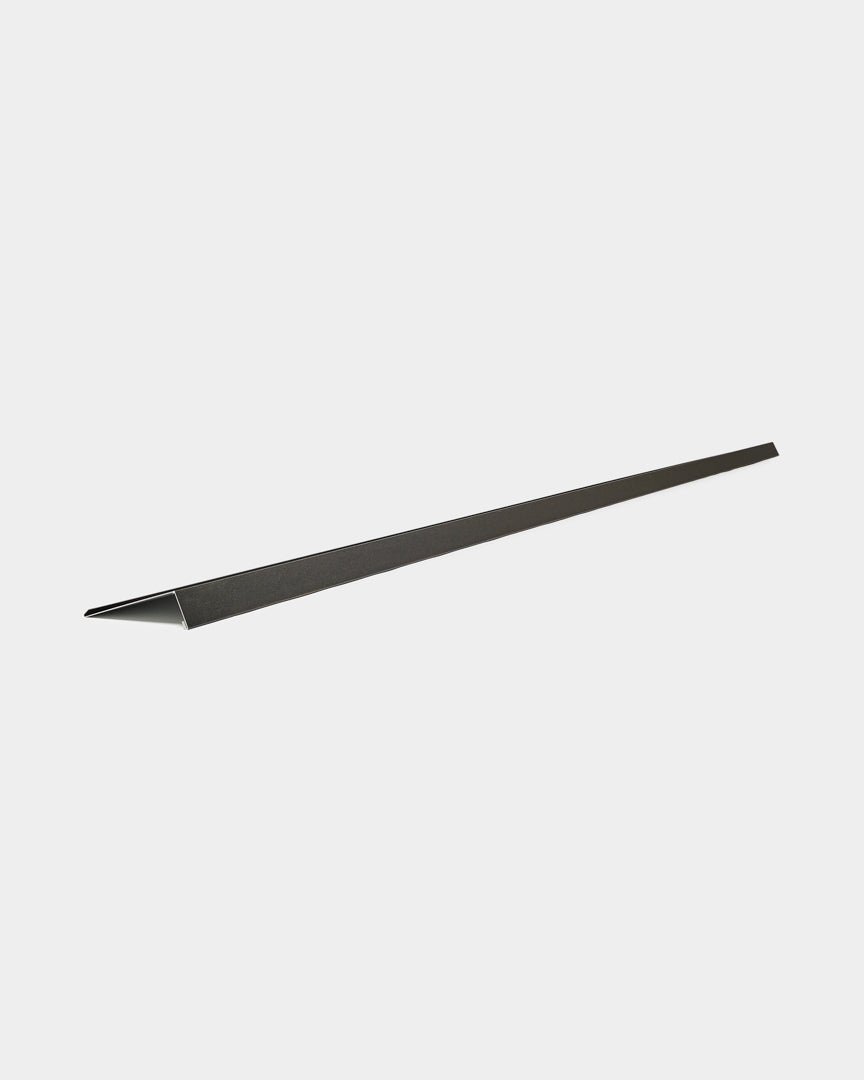
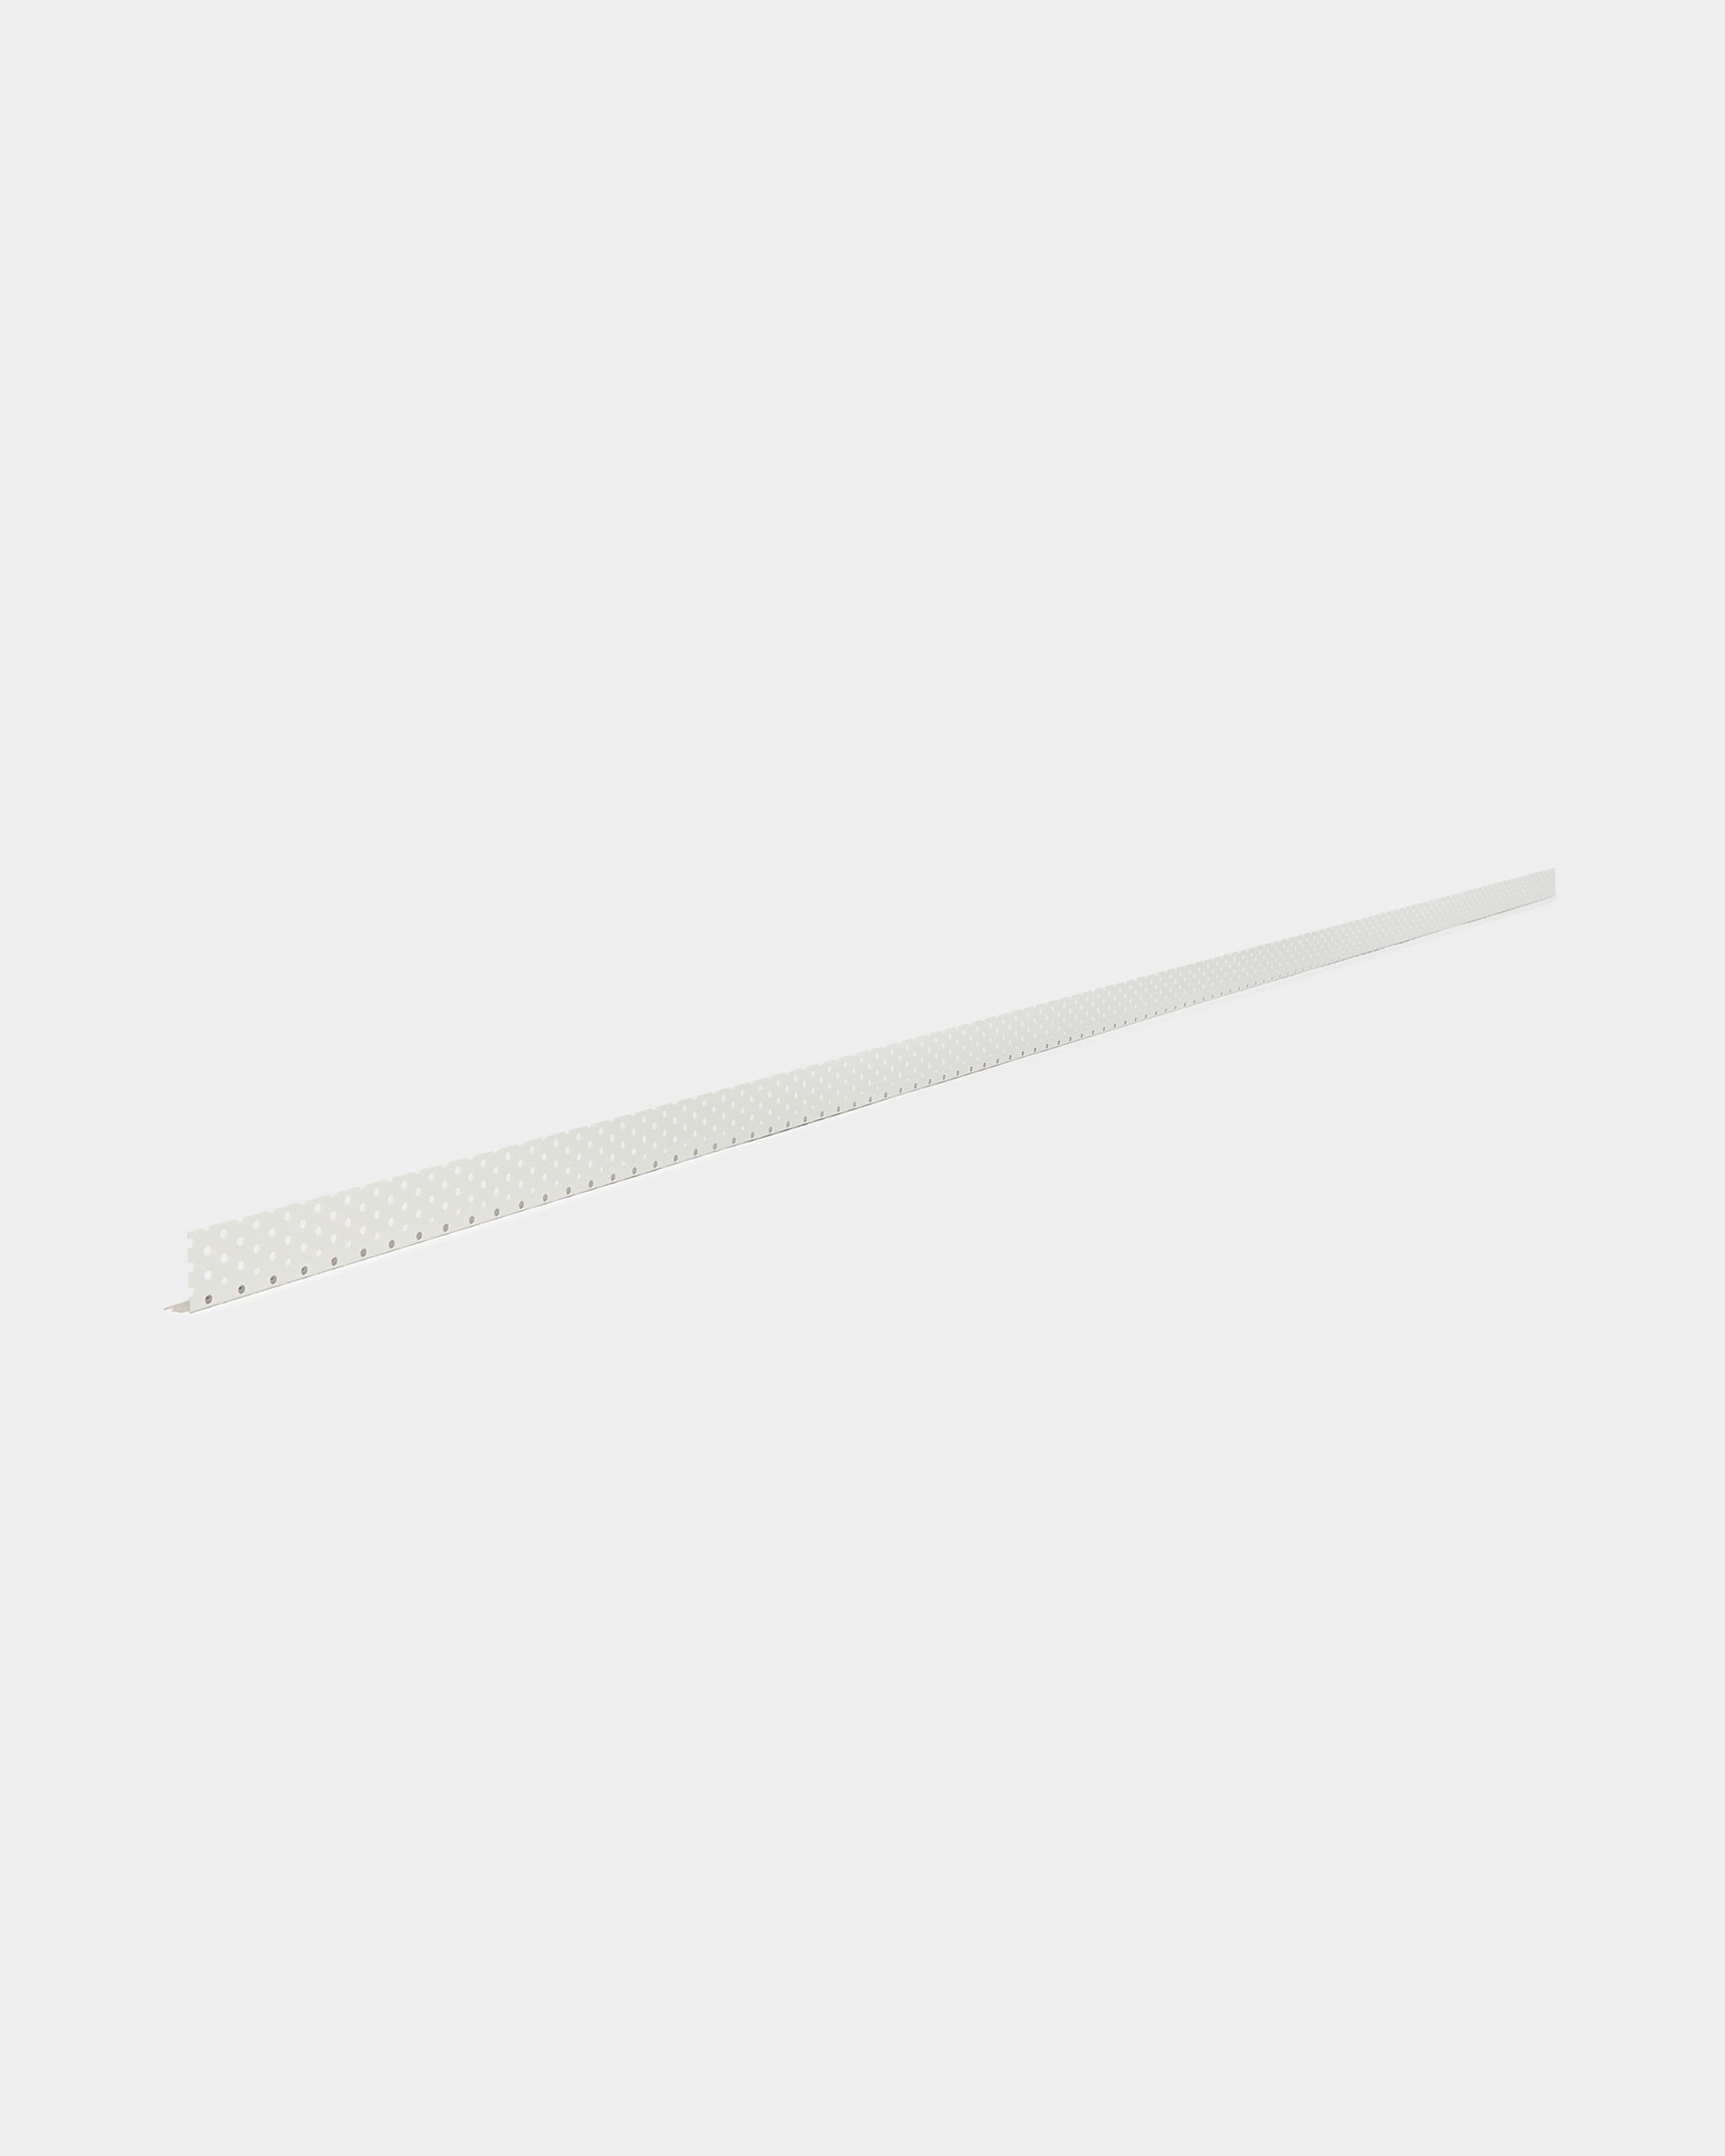
Cut and shape the trims effortlessly
Adjusting these trims to fit your specific room dimensions is a quick and straightforward process. Houses rarely feature perfectly straight lines, and you might need to maneuver around existing door frames or sloped ceilings. The material is incredibly easy to work with, allowing you to make precise cuts right in your own living room. You do not need heavy machinery or noisy power tools. Simply measure the height of your wall and trim the piece to the required length using a standard fine-toothed hand saw. The wood cuts cleanly, meaning you can easily shape the borders to fit your exact interior without any frustration.
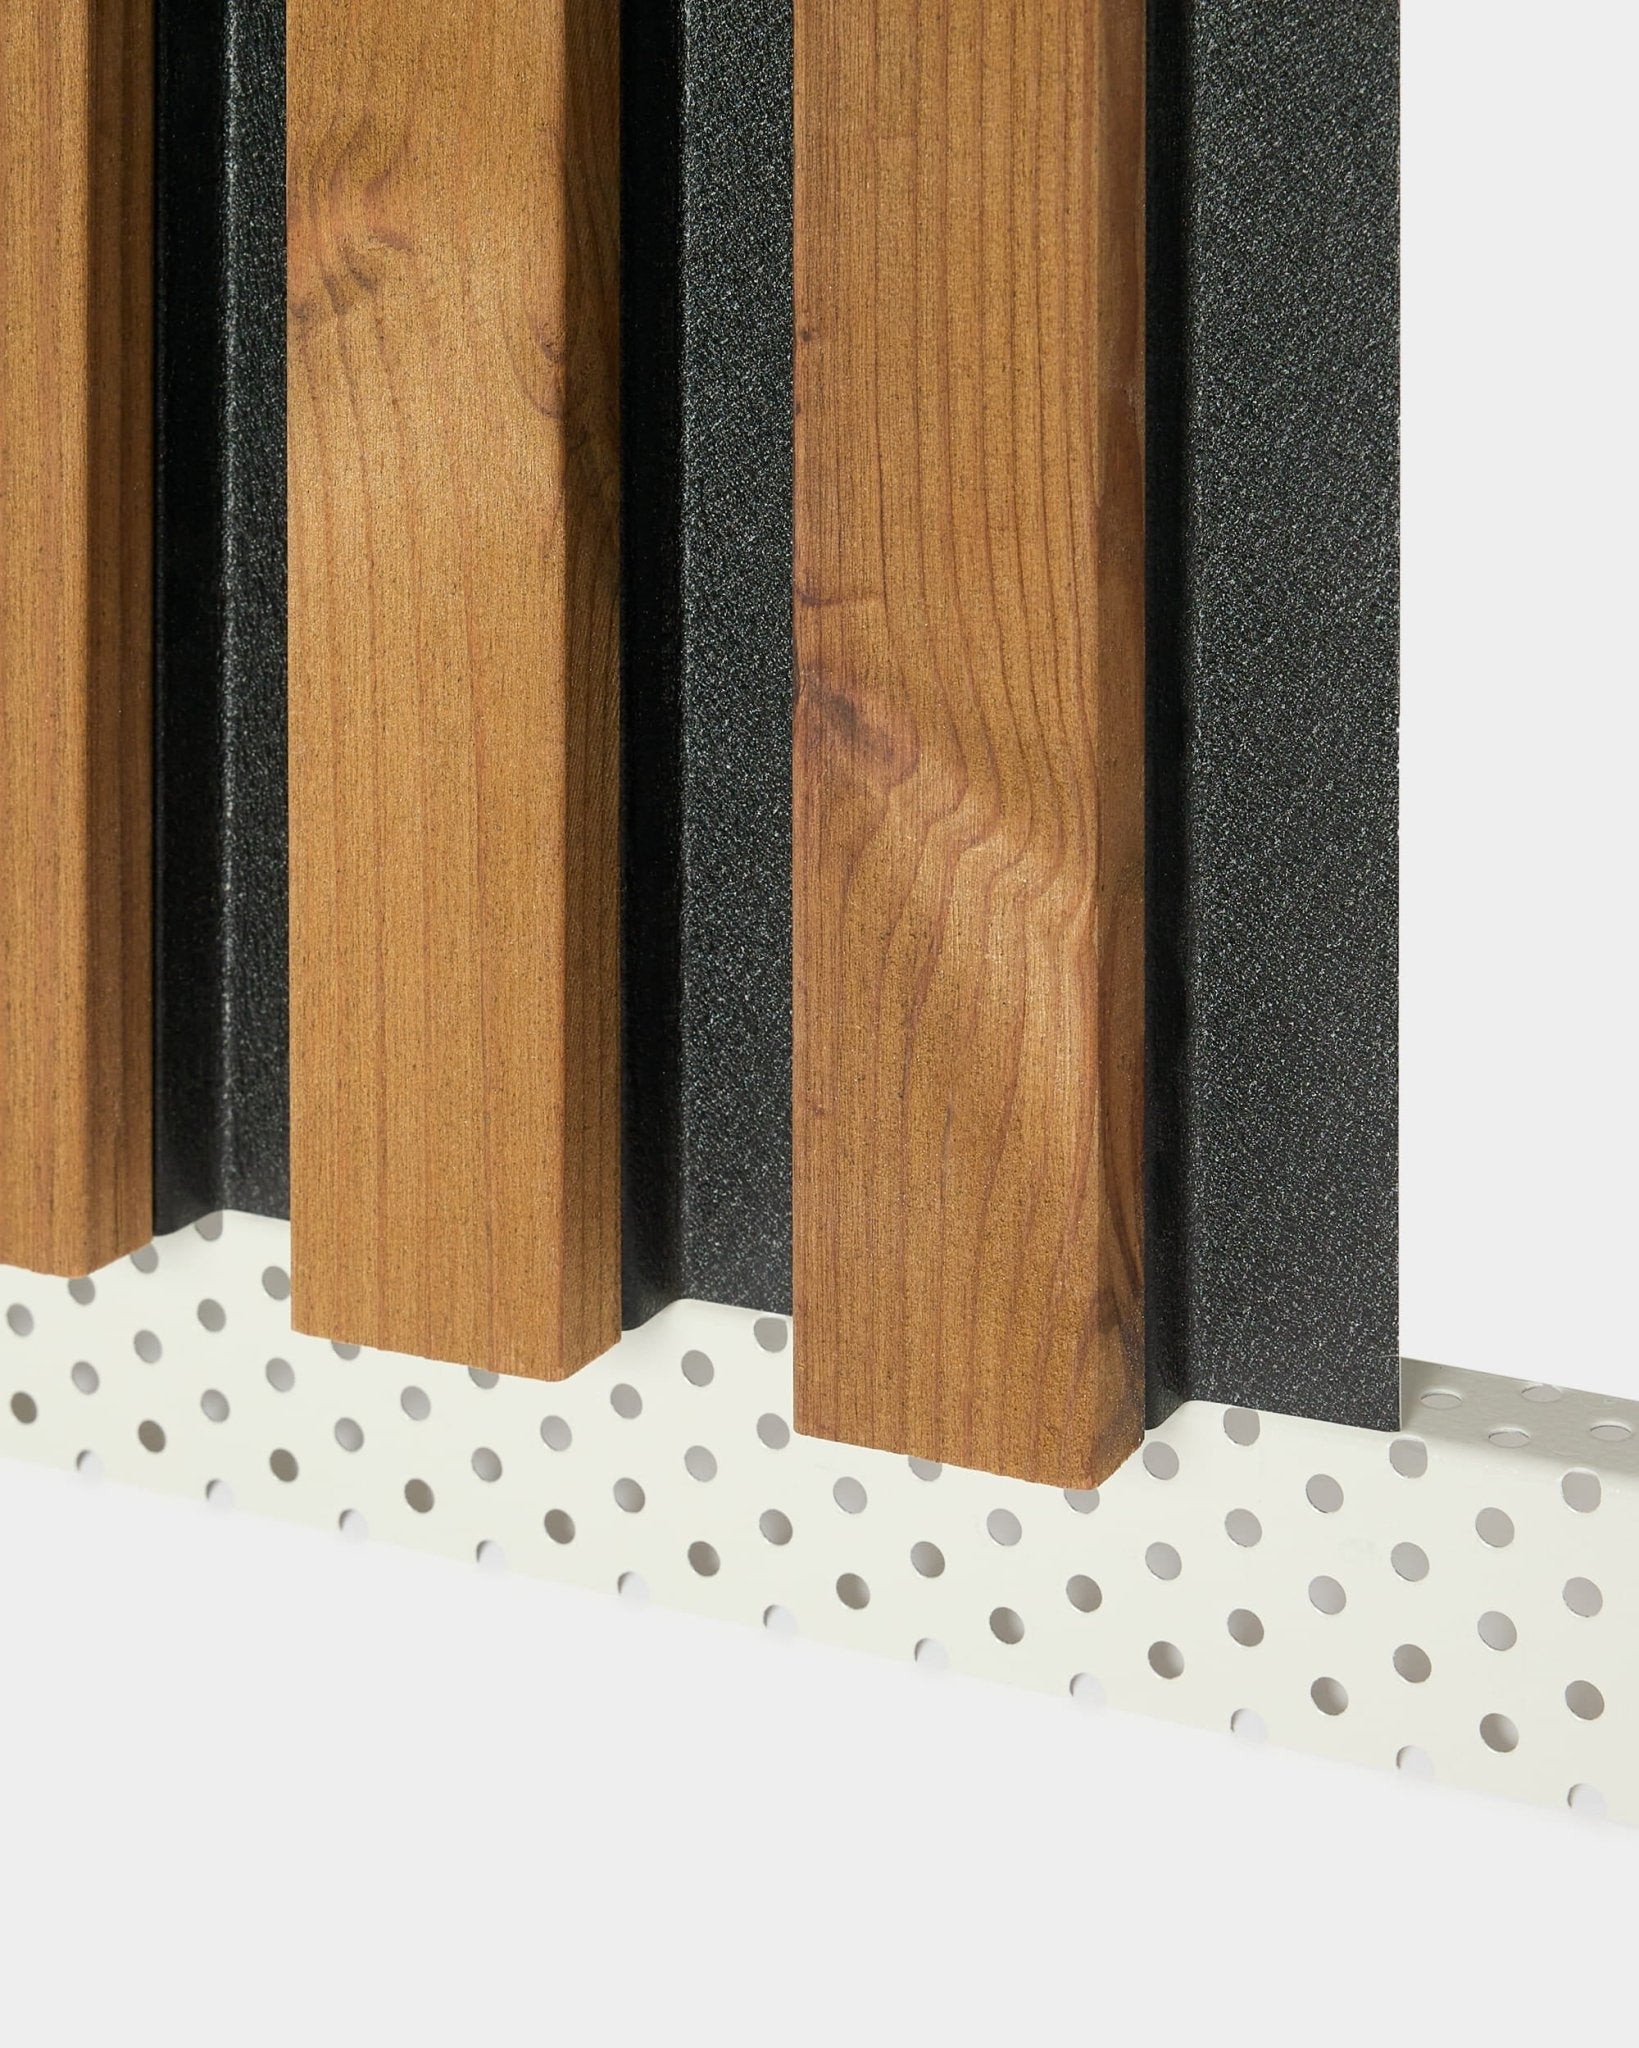
Attach the final details in just a few minutes
Completing your wall project requires no prior DIY experience or specialized carpentry skills. Once your piece is cut to the correct length, attaching it to the wall is incredibly simple. You can secure the trim firmly by applying a thin, even layer of grab adhesive to the back and pressing it directly against the wall. If you prefer, using small brad nails works just as well. The adhesive grips quickly, meaning you can secure the final pieces of your room transformation in just a few minutes. You get the deep satisfaction of handling the most detailed part of the project completely on your own.
Protect your wall from daily wear and tear
Beyond providing a beautiful visual finish, sealing the edges adds significant practical durability to your installation. In an active household, the exposed sides of a wall feature often catch the brunt of daily life. Family members brush past the corners in busy hallways, vacuum cleaners accidentally bump the bottom edges, and children run past with their toys. The finishing trims act as a robust physical shield. They protect the delicate handpicked veneer and the acoustic felt from the unavoidable bumps and scrapes of a modern home, ensuring your installation continues to look sharp and completely undisturbed year after year.
Enjoy a reliable and polished architectural feature
Finalizing the wall with a polished border gives you a reliable interior feature that holds up well into the future. By covering the raw edges, you also protect the Class A sound absorption felt from gathering dust or fraying over time. It is a highly practical step that locks in both the acoustic performance and the visual beauty of your room. You invest a few extra minutes at the very end of your weekend project to secure a highly resilient, tailored finish. When you finally step back to admire your work, you are met with a beautifully structured, quiet room that is perfectly equipped for everyday living.